
STEP 01
Understand Quick Capture
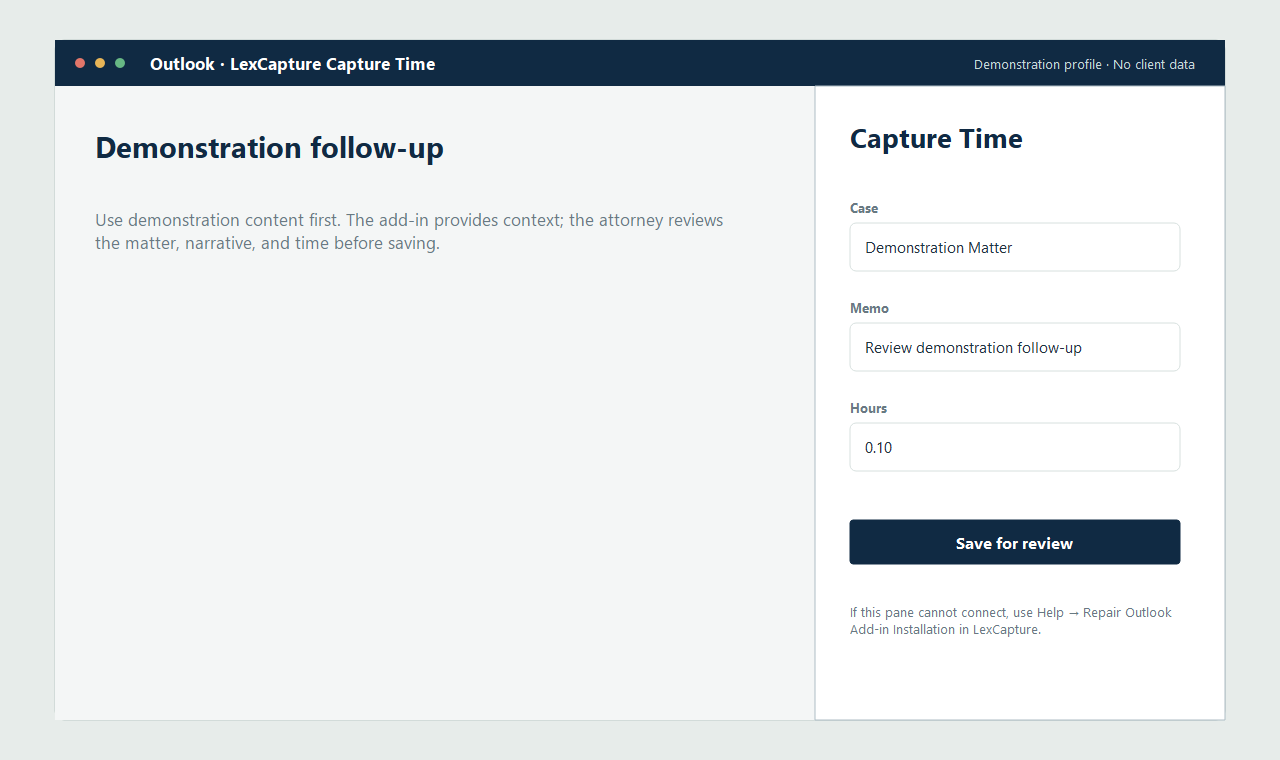
LexCapture lets you use an open Outlook email or meeting with the Windows desktop. It never logs time automatically: you choose the case, hours, and memo, then explicitly save.
Outlook add-in guide
Follow these steps with LexCapture installed and open. The walkthrough reflects the shipped v5.0 local-loopback add-in and uses sanitized demonstration screens.
LexCapture lets you use an open Outlook email or meeting with the Windows desktop. It never logs time automatically: you choose the case, hours, and memo, then explicitly save.
Launch LexCapture before Outlook capture. If LexCapture offers to prepare its local Outlook connection, choose Set Up. The application validates its own same-computer HTTPS certificate; never bypass certificate warnings.
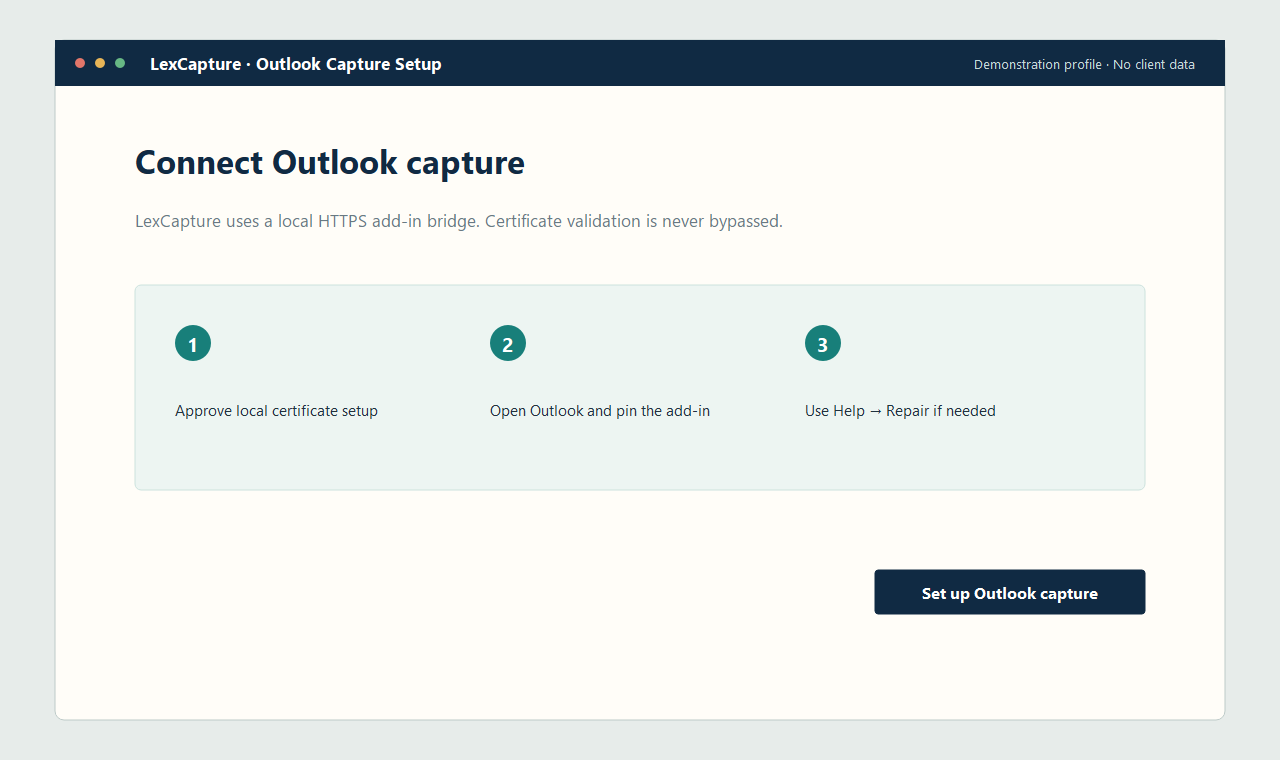
In LexCapture choose Help → Repair Outlook Add-in Installation. The dialog shows the exact manifest included with your installed copy and reports the current listener and certificate status. Use that displayed file—do not search developer or download folders.
Use Microsoft 365 New Outlook for Windows or a supported Classic Outlook for Windows build. Open a saved email in its own Message Read surface. Pinning requires Mailbox 1.5 and a supported Microsoft 365 work or school account.
Open Microsoft's Outlook add-in setup page . In Outlook choose My add-ins → Custom Addins → Add a custom add-in → Add from File. Select the exact manifest shown by LexCapture, then accept Outlook's prompts.
Microsoft controls this sideloading screen. An organization may instead deploy the same manifest through Microsoft 365 administration.
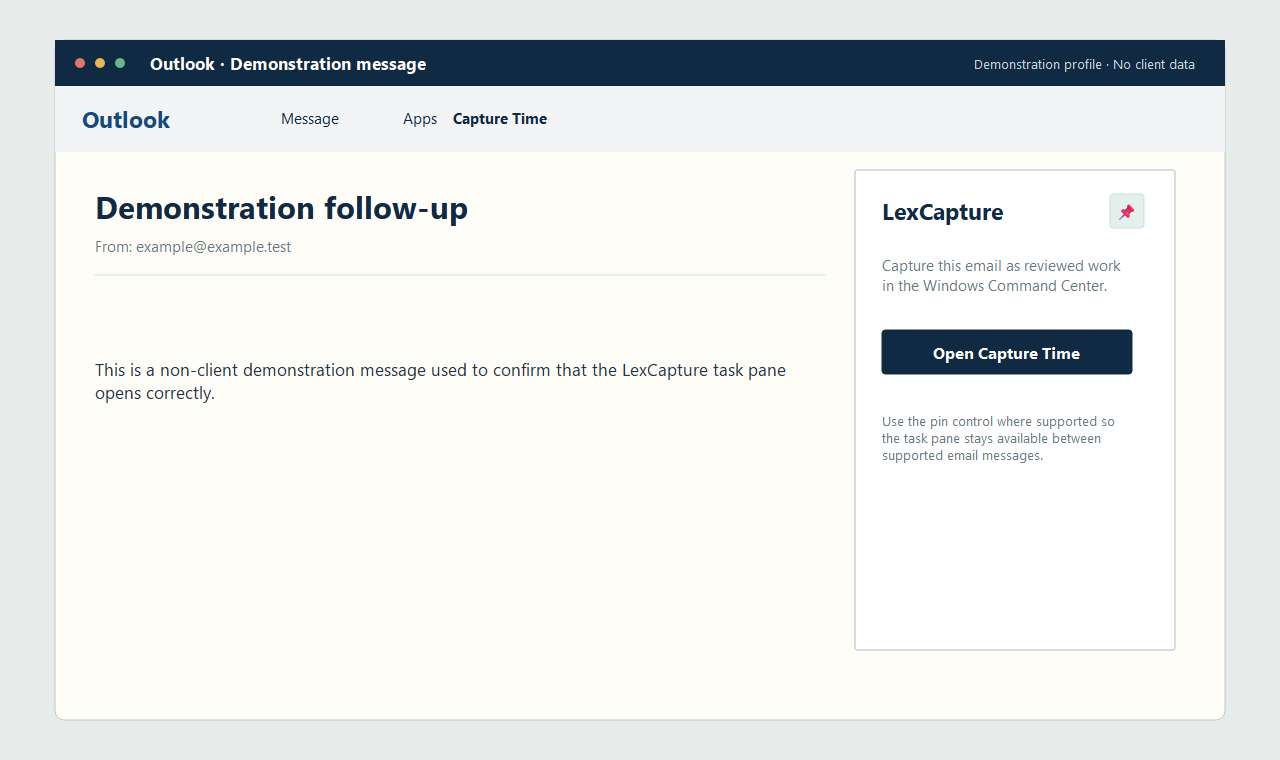
Open a saved email, choose Apps or the LexCapture command, then choose Capture Time. Use the title-bar pin when Outlook offers it. Outlook.com consumer accounts, meetings, and Message Compose do not support this add-in's email pin behavior.
Keep LexCapture open. In Quick Capture choose the case, confirm hours and memo, then select Save Time Entry. For email, LexCapture uses the sender identity and Outlook message identifier; it does not read or store the email body or subject.
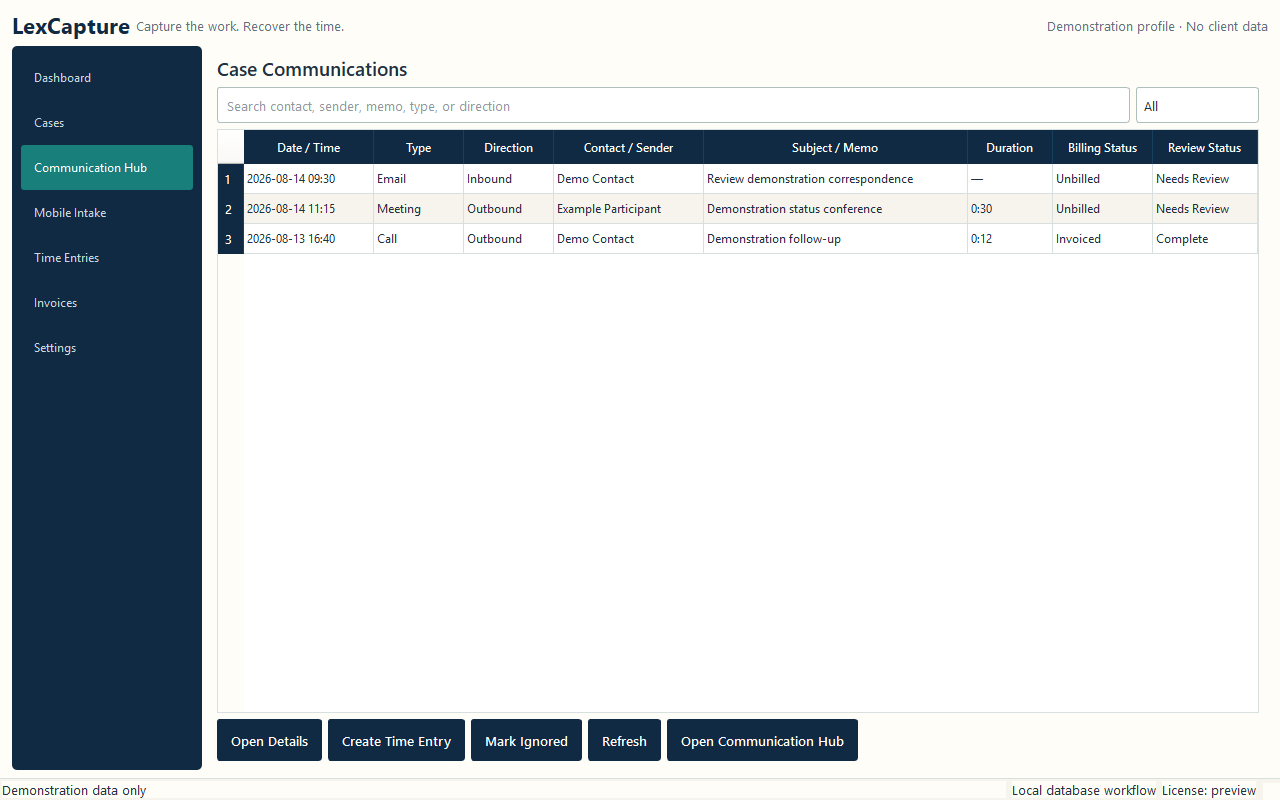
Return to the desktop Communication Hub or open the case's Case Workspace. The explicit Outlook save creates a linked communication-metadata record and time entry for the case you selected. Outlook does not capture in the background.
If LexCapture does not appear, remove the old custom add-in, close every Outlook window, reopen Outlook, and add the packaged manifest again. Keep the desktop app open.
Use Help → Repair Outlook Add-in, Repair Outlook Add-in Installation, and Outlook Add-in Diagnostics. Do not delete hidden Office cache folders. If diagnostics still fail, use Contact Support.
Outlook Quick Capture requires a deliberate Save Time Entry action. LexCapture stores only the supported communication metadata—not email bodies, attachments, or background mailbox activity.